Hello, in this article I will show you how to scan an application developed for the iOS platform using Fortify.
Pre-Scan Checks
In order to make a healthy scan, I recommend you to check the following items beforehand.
- Make sure that the codes are built with Xcodebuild on the terminal and the result is build success.
- Check if the Xcodebuild version of the application is supported by Fortify.
Terminal
Scan with Xcodebuild
We open a terminal that looks at the location of the project to be scanned.
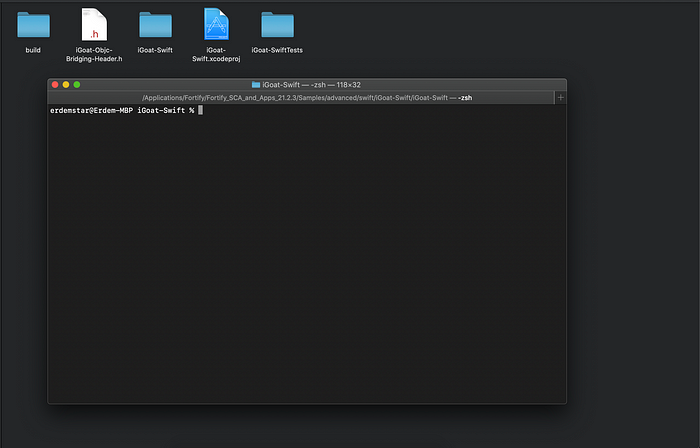
Before scanning, we build the relevant application with Xcodebuild and check whether it gives build success or not.
In this step, we will need to enter a command like the one below.
xcodebuild -project iGoat-Swift.xcodeproj -scheme iGoat-Swift -sdk iphonesimulator clean buildThe explanations of the above command are as follows.
- xcodebuild : command-line tool that allows you to perform build, query, analyze, test, and archive operations on your Xcode projects and workspaces from the command line.
- -project : build the project NAME
- -scheme : build the scheme NAME
- -sdk : use SDK as the name or path of the base SDK when building the project
- clean : Deletes the build directory.
- assemble : Assembles the outputs of this project.
We used many commands while building the related project. In some projects, these may not be enough for the build process. I recommend adding the different parameters added in the Xcodebuild step during the Fortify scanning phase, otherwise the build failed error may be generated and the fortify scanning may be interrupted because the expected parameters are not given.
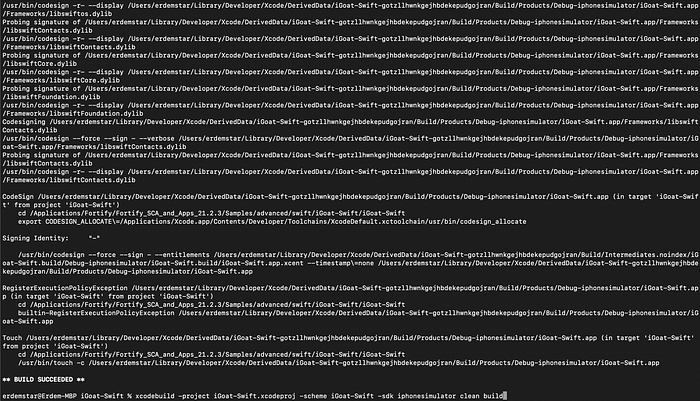
We ran the Xcodebuild command and got the Build Success output. Now we move on to the code scanning phase using Fortify Sourceanalyze.
In this step, we will need to enter a command like the one below.
sourceanalyzer -b build-id -cleanThe explanations of the above command are as follows.
- sourceanalyzer : It is the executable file that Fortify uses to scan the source code.
- -b : You can think of it as a session in a web application. Here, Fortify will use the name we give when it wants to keep the data it obtained for the project to be scanned in a field and access this field.
- -clean : If there has been a scan using this name before, here we empty it using the relevant command. According to best practices, it is recommended to use this command before each scan.
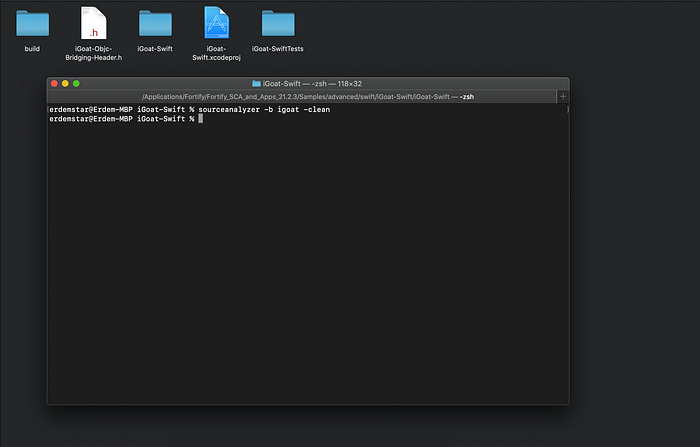
After the clean process, Translation (the process of making the scanned codes understandable by Fortify) needs to be done. For this we enter the following command.
sourceanalyzer -b build-id xcodebuild -project <project>.xcodeproj -scheme <project>-sdk iphonesimulator clean build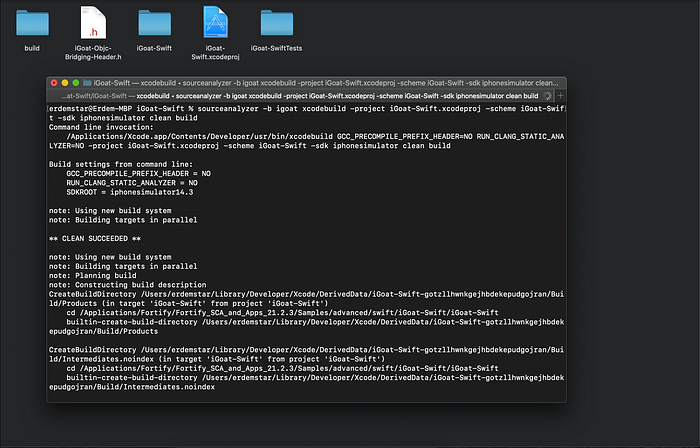
After the translation made using Xcodebuild, the screen will be as follows. What we need to pay attention to here is whether there is a “Build success” text.
If we see the build fail , it means that the project encountered an error while building it with Xcodebuild. It is necessary to resolve the related error and start scanning again. Since we see success, we can continue.
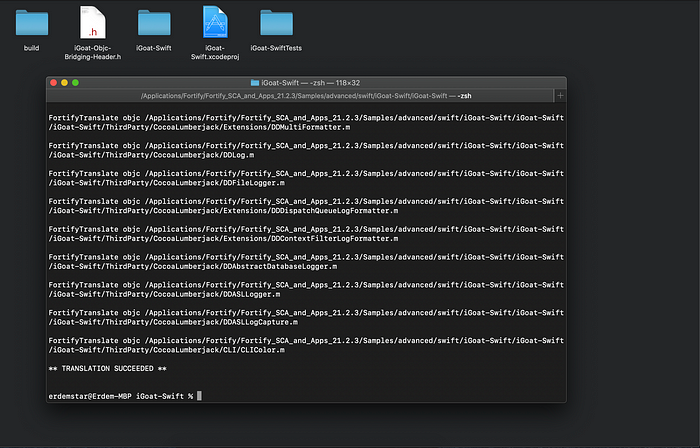
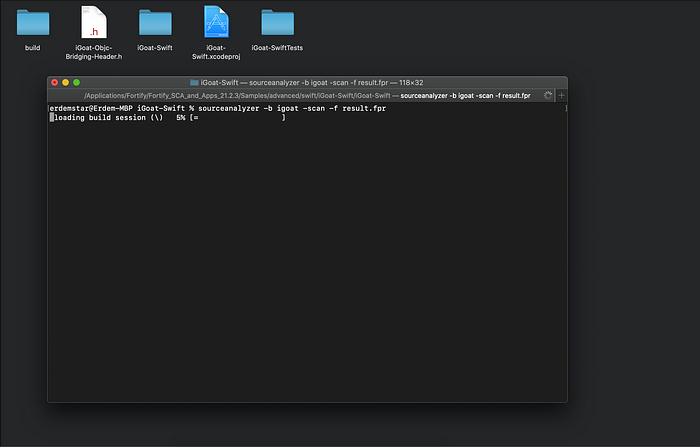
This step is the part where the codes built with Xcodebuild are scanned (Analyze) with Fortify and the outputs will be produced. For the analysis process, it will be necessary to enter a command like the following.
sourceanalyze -b build-id -scan -f output.fprThe explanations of the above commands are as follows.
- -scan : We use this parameter to start scanning on the files obtained during the Translation process.
- -f : We want an FPR file to be produced for the vulnerabilities detected after the scan. Here we specify the name of the FPR file to be produced.
“-f “ In scans where we forget the f parameter, the vulnerabilities will be written on the terminal.
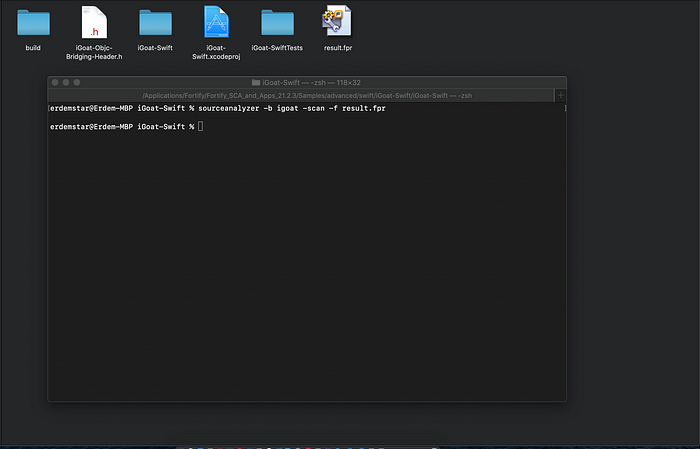
When the scanning operation is finished, the screen will be as follows. You can see that the FPR file is created when the folder where the application is located is checked.
Thank you for reading my post :)
